
How to Find Out What Motherboard You Have
Knowing your computer’s motherboard model is an essential step in understanding your system’s capabilities, upgrade options, and compatibility with new hardware. Whether you’re troubleshooting issues,…
Knowing your computer’s motherboard model is an essential step in understanding your system’s capabilities, upgrade options, and compatibility with new hardware. Whether you’re troubleshooting issues,…
What Is Outlook Web App? Outlook Web App (OWA) is Microsoft’s browser-based email and personal information manager, available to Office 365 and Exchange Online users….
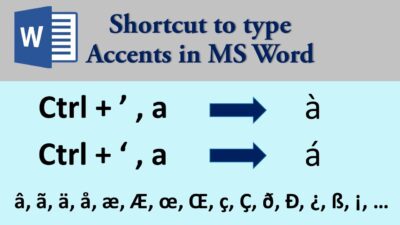
Best methods to add accent marks in Microsoft Word.

Creative ways to say thank you and show appreciation.
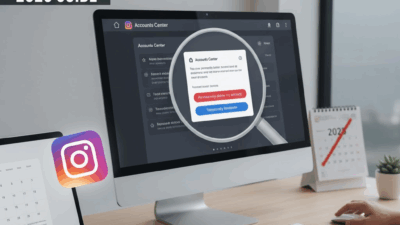
Whether you’re feeling overwhelmed by your feed or just need a digital detox, you might be considering a break from Instagram. You have two options:…

Bigo Live is a popular global live-streaming platform where users can broadcast their moments, watch streams, and interact with creators in real-time. While it’s primarily…
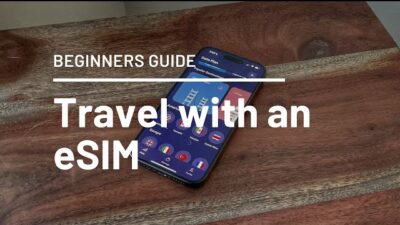
A travel eSIM is a digital mobile plan you can install directly on your phone. It provides cheaper and more flexible data access abroad without the need for a physical SIM card. Set it up before traveling, disable roaming on your home line, and enjoy instant connectivity upon arrival. With the right plan and a bit of preparation, you can avoid costly roaming fees and stay connected anywhere you go.

Complete guide to removing Discord from your system. As we all knows ‘Discord’ is most famous and used software in all over the world.
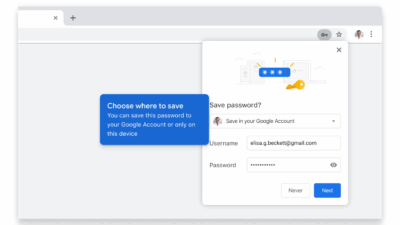
Learn how to force Chrome to save passwords when it doesn’t ask automatically.
Fix Microsoft Outlook error [pii_email_37f47c404649338129d6] quickly and easily.